Happy Kitchen Project: Placemats Anyone? DIY
Day 18: Happy Kitchen Project: Placemats Anyone? DIY
We’ve been blogging about the Happy Kitchen Project this month, and are having so much fun collaborating with Mandi from @chewsylovers. We’ve been alternating days for a month long blogging stint about how to inject your kitchen with that happiness vibe we all crave.
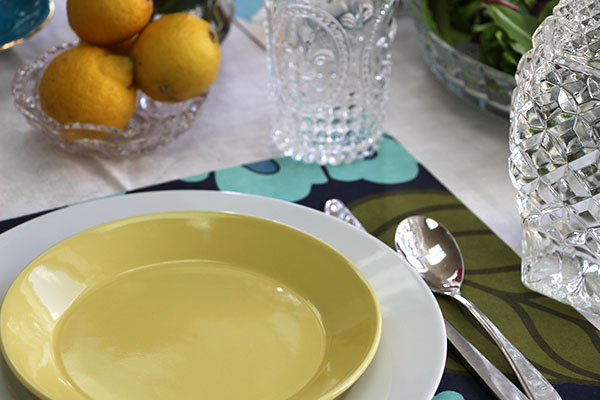
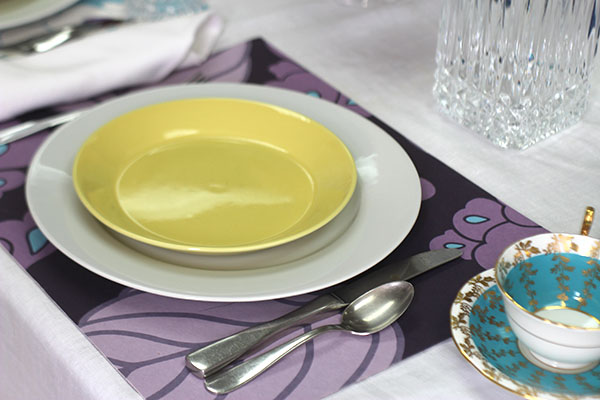
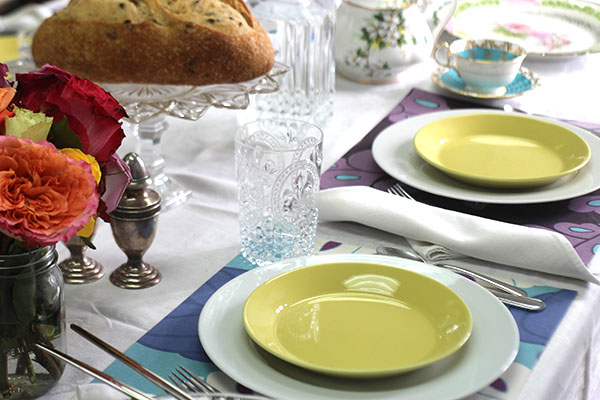
So how do you set your happy kitchen table?
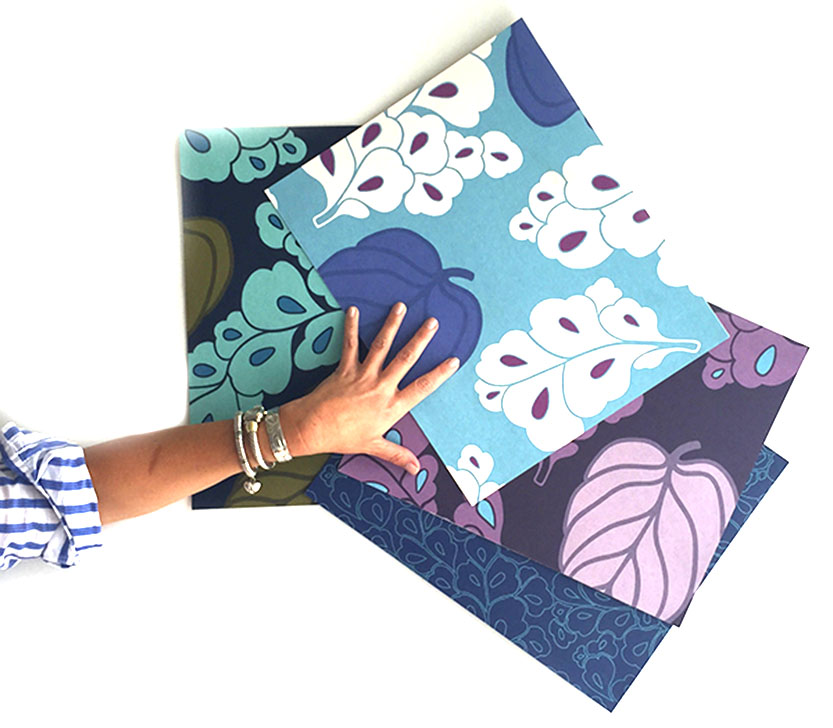
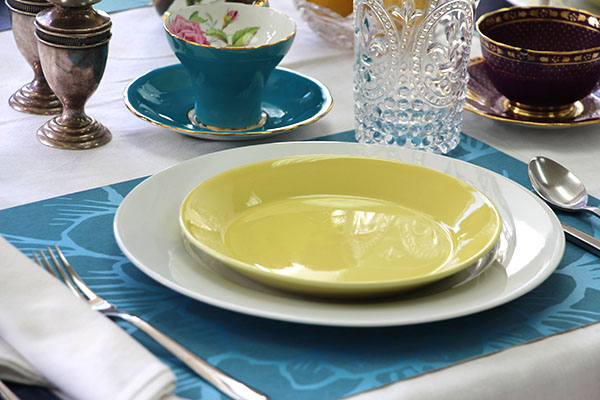
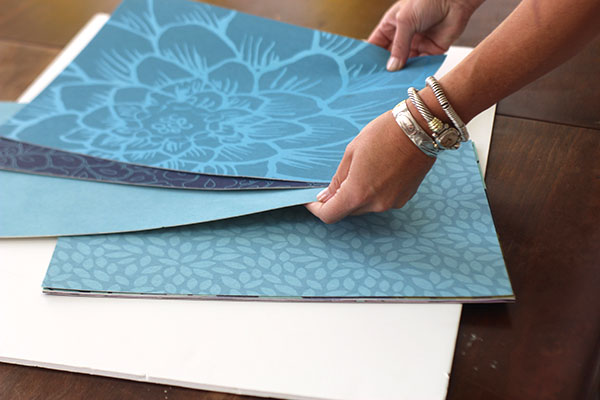
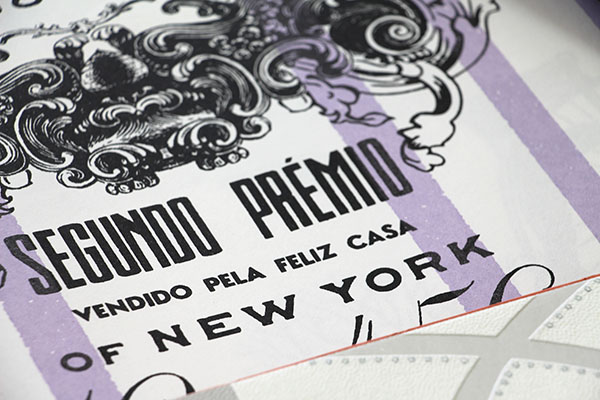
Placemats can be a great, fun and creative way to express your individuality. We came across these amazing placemats made by a friend of ours, Blair, and were so surprised to find out they are made from old wallpaper books from the local Benjamin Moore Paint store.
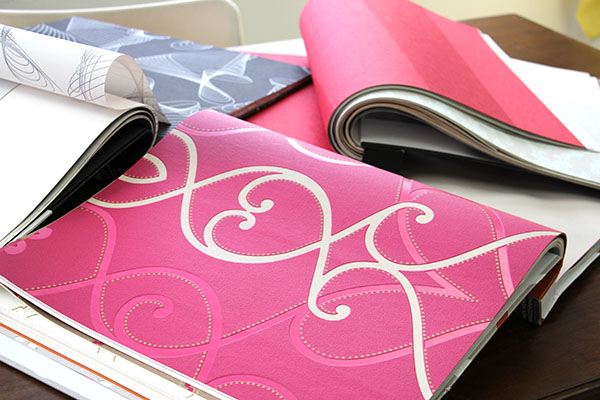
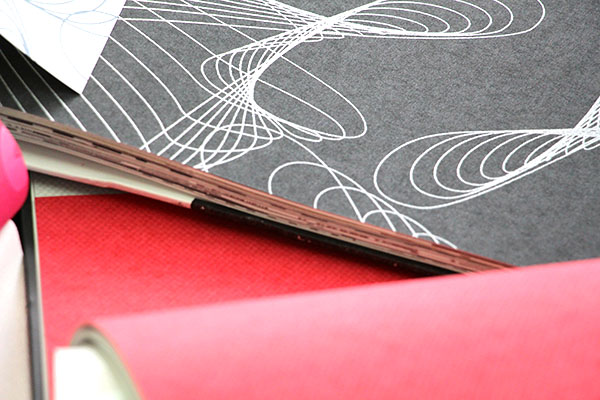
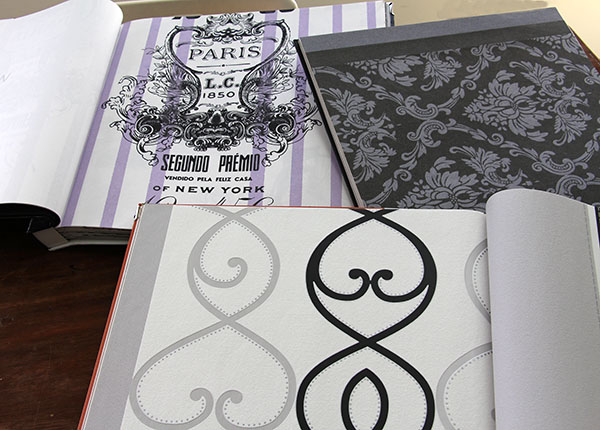
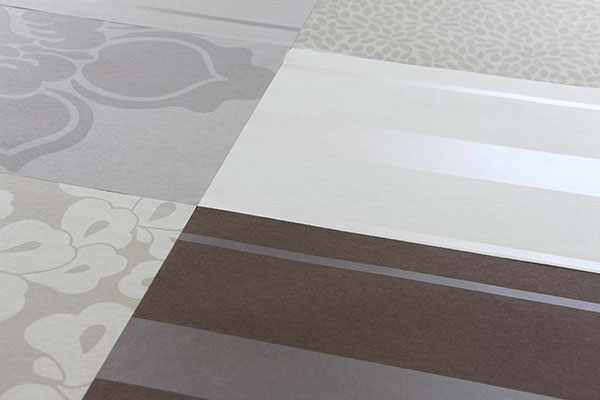
Needless to say we bustled on in to the paint store and asked if they happened to have any old wallpaper books. They were pretty happy to pass them along to us. We brought them back to our studio and found amazing array of great patterns to choose from.
First off, find a few patterns that speak to you. We are liking anything vintage inspired these days but big and bold patterns work as great backdrops for a fun place setting.
You could use all the same pattern in different colours. or use all the same colour in different patterns. or even all different colours and patterns as long as they go together somehow, that is, a common motif or a common colour thread.
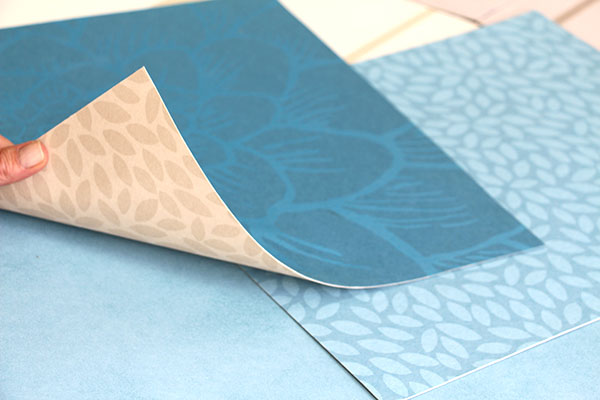
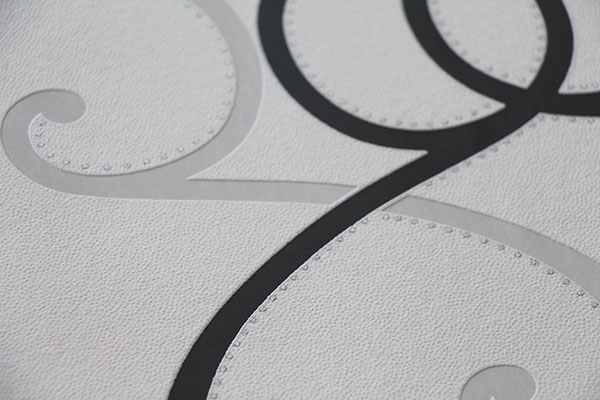
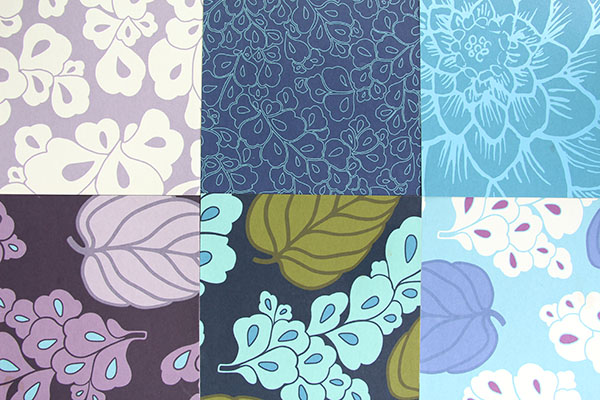 It’s good to use two wallpapers for one placemat to make them reversible and to make them more sturdy. Blair used a big loud pattern on one side and a much quieter one on the other side. Such a good idea!
Here are both sides of Blair’s placemats:
Carefully tear the 2 sheets of wall paper you would like to use for the two sides of placemat out of the wall paper book.
Once you have your two sheets, as carefully as you can, line them up on three sides. Use paper clips or bull dog clips to hold one end together.
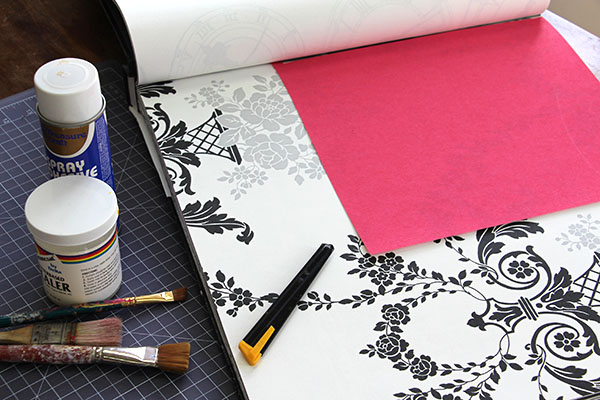
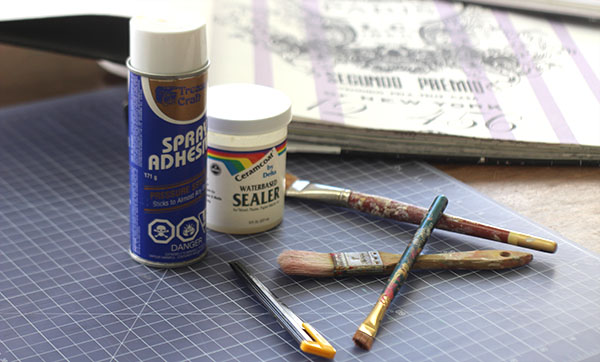
Use spray adhesive to carefully glue the two sides together. It is easiest if you start at the unclipped side and smooth the ends together. Then unclip the other end and spray again and smooth the two pieces together in sections towards the open end.
Once the two pieces are glued together you can figure out how big you want your placemat and then trim off the excess with an exacto knife and a straight edge.
Use a cutting board of some sort as Exacto knives are SHARP and will cut your counter or table.
Guess what?! You are done! Well…almost. We suggest painting both sides with a sealer of some sort for easy clean up.
Wallpaper is pretty durable, but an extra layer of sealer will make them last longer. Mod Podge in a flat finish would work. These can be found at your local craft store, such as, Michaels.
NOW they are done! Now go ahead and set your happy table.
Send us some pics or post to our Instagram handle @designerscollective_
Share with us on instagram with hashtag #happykitchenproject and tag us @designerscollective_ and @chewsylovers
We would love to share a few happy kitchens on our blogs during our 30 day challenge!
Tuesday we are back with Mandi from Chewsy Lovers who will be posting from Fort Lauderdale, Florida. We will post the link for her blog in the morning for all of you to read about her tips for a HAPPY KITCHEN!!
Use hashtag #happykitchenproject to show off your handiwork.



Nicole Keener
August 25, 2015 at 7:53 amI love place mats! I need to give this a try now that summer is over I have a bit more time to be creative 🙂
tina
September 4, 2015 at 5:21 amHi Nicole, We are thrilled you are inspired! The placemats are a wonderful way to be creative while expressing your personality. Please send a photo of your creations when you are done! xox
Pingback: The Happy Kitchen Project: How to Feed Your Family Healthier Meals | Chewsy Lovers
August 25, 2015 at 8:05 am